Construction and firing of a replica Roman kiln was a central element of the community dig.
Amongst the Fane Road volunteers and allotment holders was an accomplished amateur potter, Wendy Gamble. With her own modern kilns nearby she could have easily produced Roman style pottery of the era of the Fane Road villa. That was too easy – and would have missed the opportunity to understand more about the techniques and challenges faced by Roman potters; and the opportunity to bring to life the many fragments of pot found during the excavation.
As part of the project it was decided to create a replica wood fired Roman kiln using the kind of technology available at the time.
There is plenty of evidence of Roman kilns in the Peterborough area as revealed by Edmund Artis, Stephen Upex and others. Artis excavated 80 kilns in the lower Nene valley.
Additional expertise was provided by Jon Cane who has produced multiple replica Roman kilns.
Key Elements of a Roman Kiln
A Roman up-draught kiln typically comprises:
1. Stokehole pit
A large hollow dug below ground level in which the fire is started, and into which the ash can be raked
2. Fire-box
A flue or fire tunnel leading from the stokehole to the furnace
3. Furnace
The combustion-chamber, beneath the oven in which the pots are to be fired
4. Oven
The firing chamber in which the pots are fired. A temporary domed structure formed of turves, straw and clay, built up on a framework around the pots as they were stacked, and removed when the firing is completed. The pots may rest on a series of clay firebars or there may be a permanent vented floor.
Building the Fane Road Kiln
The Fane Road kiln was built and fired during the Community Dig from 19th May to 8th June 2014. The primary construction material was clay – supplied by local brick producers, Hanson. The local Fletton clay has a high carboniferous content adding heat during the firing process – “the clay that burns”. To enhance strength of the oven chamber dried grass was added to the clay used to form the oven chamber.
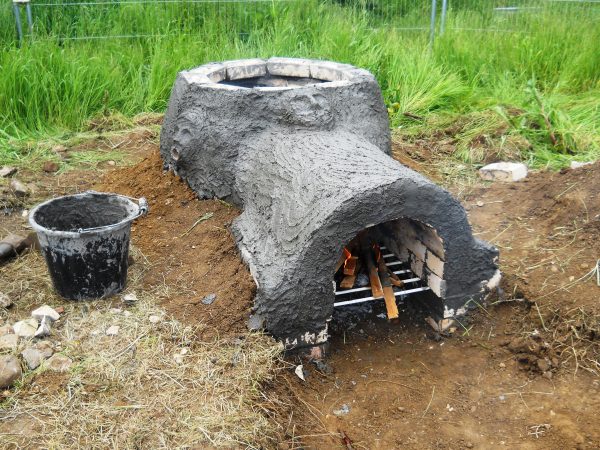
A small pit was dug for the rectangular firebox
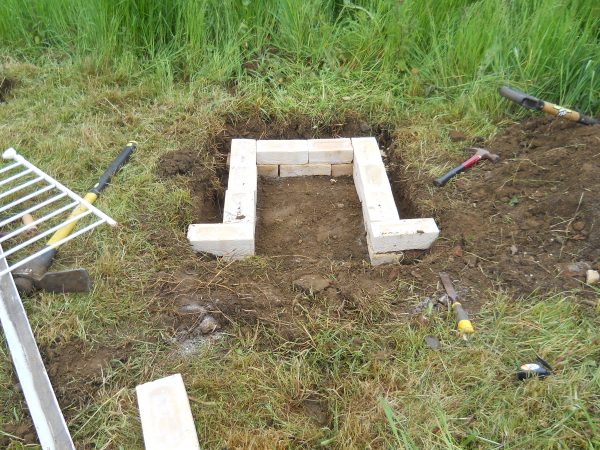
A metal grate formed the floor of the firebox and bricks were laid for the circular oven chamber
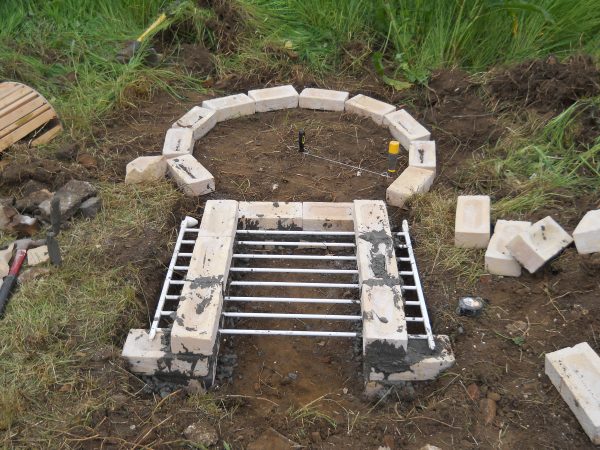
Bricks placed over a wooden frame formed the arch of the firebox
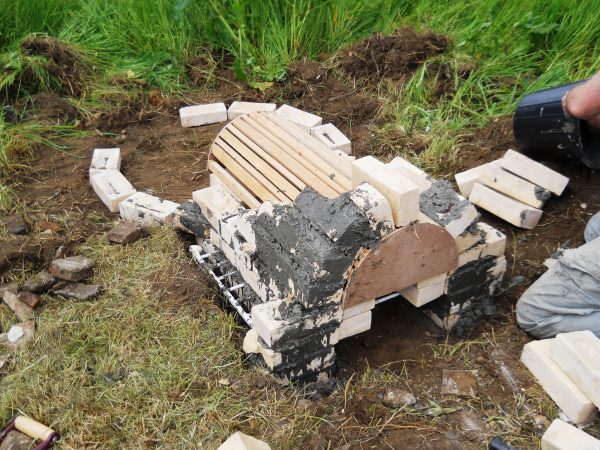
Eight firebars were placed in a radial pattern following typical Roman design. They had not been fired and as a precaution extra bricks were placed under them. In retrospect we would recommend firing the bars since one fire bar was indeed lost and the bricks impeded air flows.

Bricks were laid until we had a chamber not quite a metre high. It was slightly curving inwards and was well plastered with clay. The spy holes looked like mouths – so were made into faces!
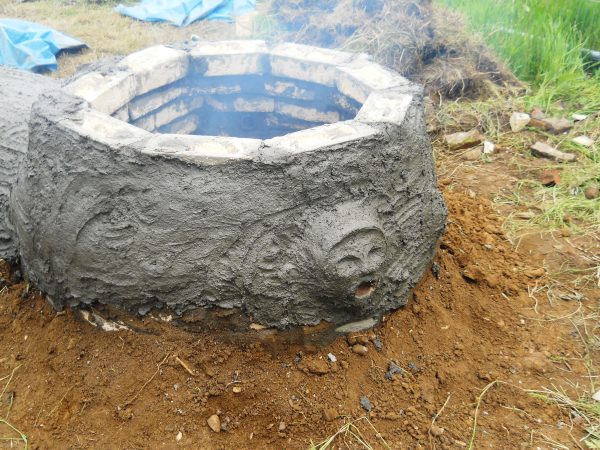
A small fire was lit to start drying the kiln before packing.
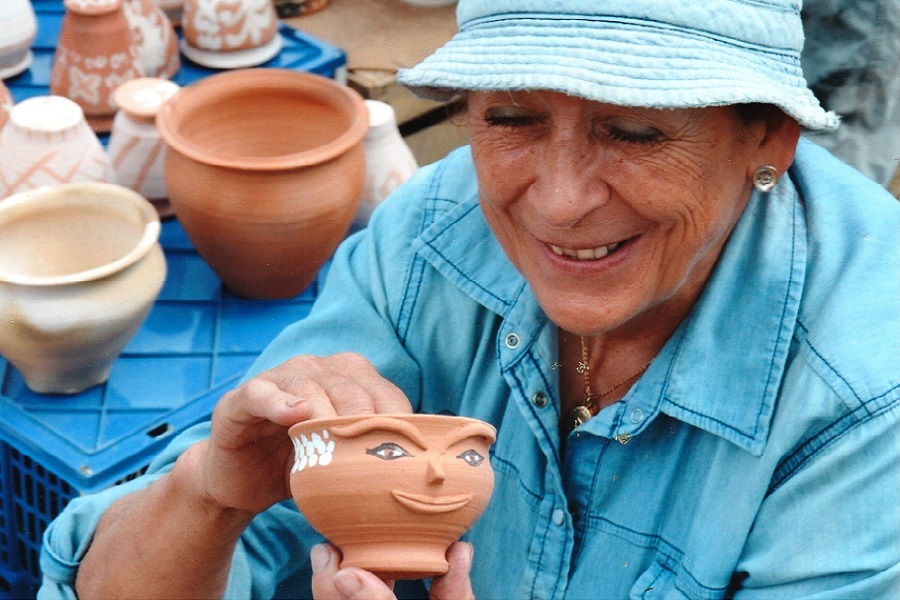
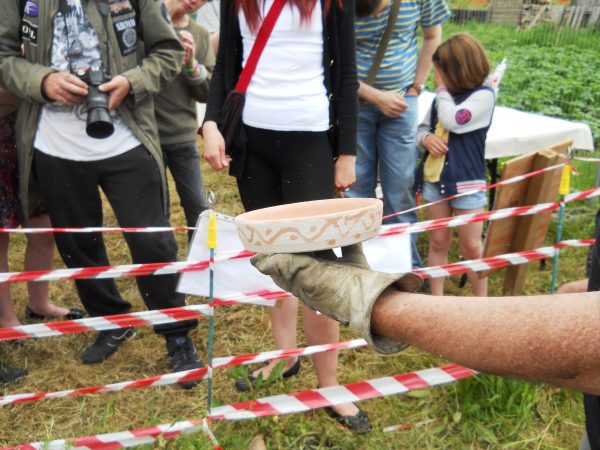
Pots with a Personal Touch
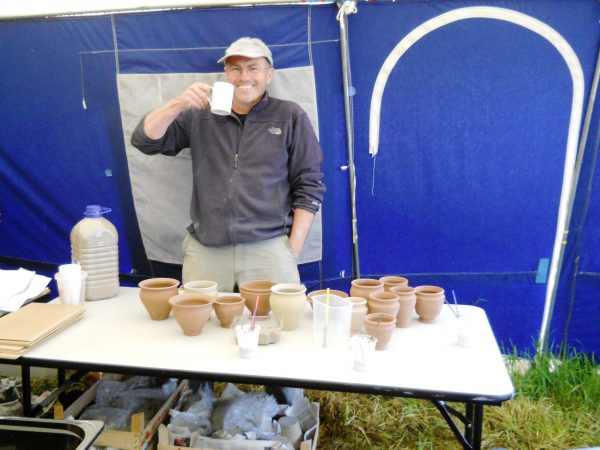
At an earlier FRAG event volunteers had been able to choose the style of pot they wanted or their own. And immediately prior to the firing they were able to paint designs using black and white slip onto some of the pots Jon Cane had prepared.
Wendy also made a variety of Roman style pots. These were loaded into saggars (clay boxes) to reduce the risk of damage within the kiln.
The kiln was carefully packed and the finally capped with added dried grass to reduce cracking of the clay.
A chimney completed the kiln, supported by a metal bar. [The chimney survived the firing but broke afterwards during handling; it would have been better to have pre-fired the chimney.]
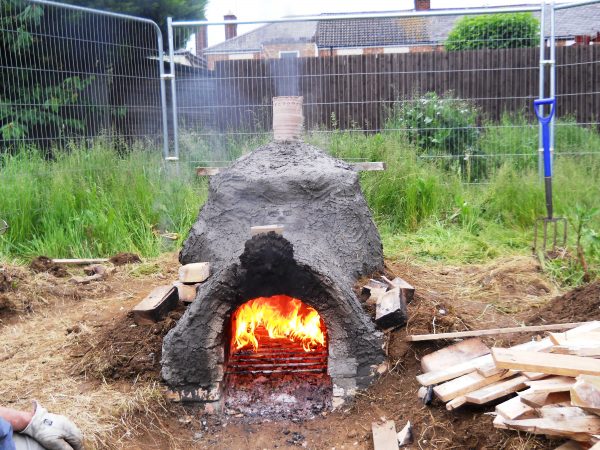
Moment of Truth
Firing of the kiln began at 2pm. The fire really got going by 5pm and this was just the start of a long and exhilarating night. Plastering of cracks continued for a couple of hours whilst black smoke billowed from the chimney. A large supply of wood was essential. The tell-tale piece of wood across the chimney started to burn by 11pm and visual checks revealed orange and red pots. Final stoking took place at 2am then the firebox was bricked up and the kiln left to cool slowly.
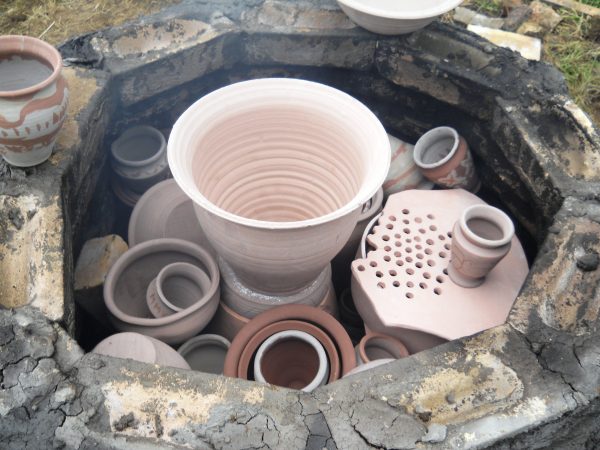
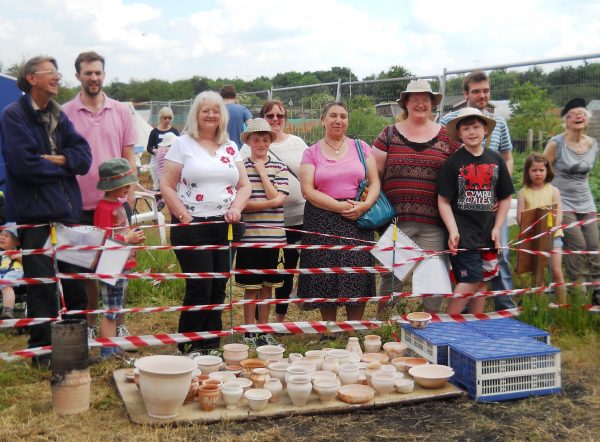
Volunteers arrived to collect their pots at midday. To everyone’s relief and excitement we had successfully fired over 100 pots.
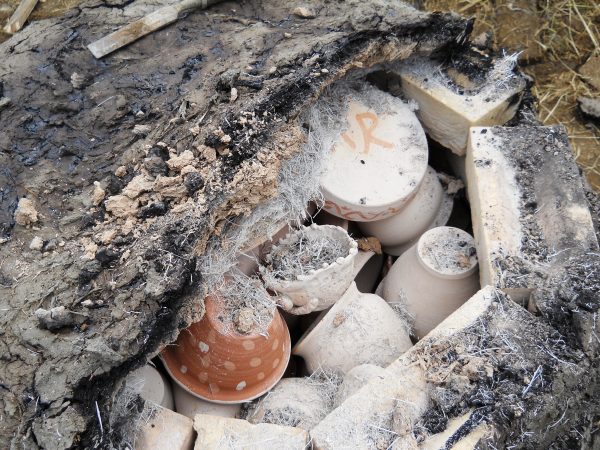
First glimpse of the fired pots
The photos above were taken by Wendy who played a central role in the kiln project.
“I still cannot believe how in May 2014 my passions for history and pottery came together on our allotment site, just a stone’s throw from my house. There was tremendous interest from the local community. It’s been one of the most rewarding events I’ve been involved with.”
Wendy Gamble

