Fieldwalking is a fantastic way to gain a basic understanding of the archaeology of a site without intrusive excavation. Even negative results are informative. Fieldwalking is, however, only really useful if conducted in a controlled way using collecting and recording techniques, and when simple statistical analysis is applied to the data.
Before you start
- Research your proposed site using the HER, Ordinance Survey maps, aerial photographs and other documentary sources.
- Seek permission from the landowner (and tenant farmer, if applicable). Enquire about past land use of the site, i.e. how long the field has been ploughed and to what depth.
- Once you have fixed a date for the exercise, notify Cambridgeshire HER that you are about to commence work by email. They will give you an Event Cambridgeshire (ECB) number.
- Plan in time for washing and recording of finds after the exercise.
- Have a budget in place for a professional Finds Specialist to analyse your finds after the exercise.
- If members of your group are unfamiliar with artefact types, you may wish to borrow the Jigsaw handling collection.
When to do it
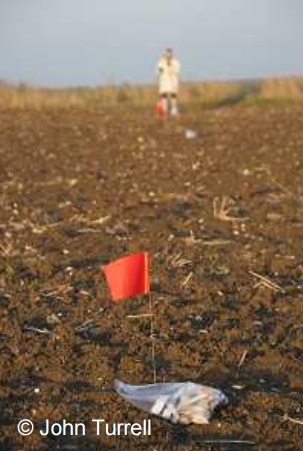
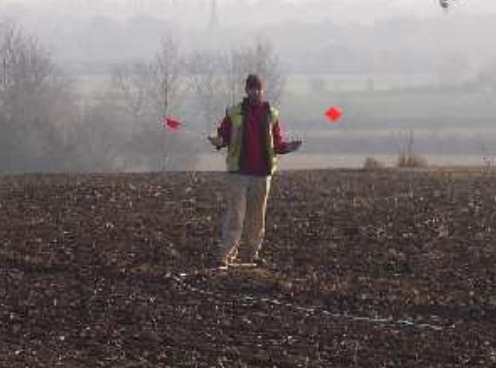
Best conditions are: two to three weeks after ploughing of a site in dull uniform light after heavy rain or wind in winter or early spring.
Equipment
- 2 x 50m tapes
- 1 x 30m tape
- c.30 x red flagmarks
- large plastic finds bags (e.g. 8” x 11”)
- OS map of area
- Permanent marker, pencil, rubber, biro
- Clipboard and gridded paper
- Optical square (if desired)
- Compass
Setting up the Grid
Set up the grid so as to tie your grid in to obvious landmarks in the locality, e.g. a road, field boundary. We want to create a grid of 20m² squares across the field, demarcated by red flagmarks.
- Set out your initial baseline. It is usually easiest to do this along the longest and straightest field boundary. Run a 50m tape from your first point (e.g. in the corner of the field).
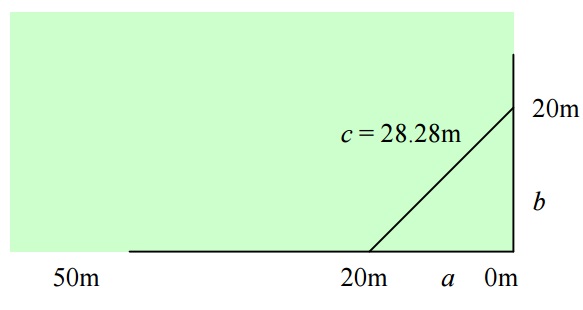
- To set up your first grid square, take a 30m tape and lay it at right angles to the baseline at 0m on the 50m tape, unravelling it to 20m on the tape. To find a perfect right angle, take a third tape to measure the hypotenuse (diagonal side of a right-angled triangle). Using Pythagoras’ theorem (a² + b² = c²), we know that the hypotenuse of a 20m² grid is 28.28m. Keeping your baseline fixed, use the hypotenuse to create an exact right-angled triangle with both sides of 20m². Mark your three points using red flag-marks.
- Do the reverse to find the fourth point of your first grid square, and mark it with a red flagmarker.
- Now you have one square, continue in this vein until you have set out all the grid squares using a combination of Pythagoras, optical squares and sighting points.
Conducting the Exercise
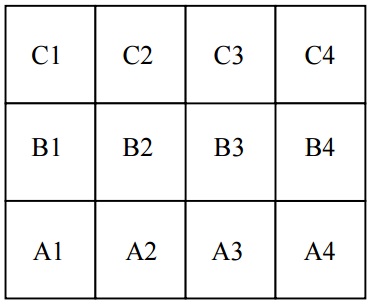
- On your gridded paper, draw on your grid, tying it into landmarks in/near the field, e.g. field boundaries, roads,telegraph poles. Give each of your squares a number (see diagram), and give the site a name, e.g. CHAFEN12 (Chatteris, Fen Road, 2012). Don’t forget to include a north arrow.
- Mark all your finds bags with the site code, grid number and date.
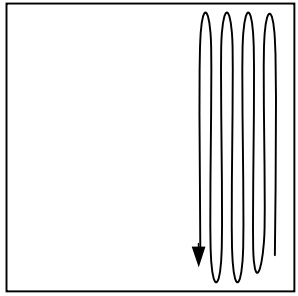
- Allocate each person a grid square to walk. Start everyone in the bottom left-hand corner of a square, give them the finds bag for their square, and set a timer for 15 minutes. Setting a time ensures that people move at a steady pace, and it also means that the results have more statistical basis to them, since if everyone has a set time to examine their grid, each square will have roughly the same amount of analysis. Each person should walk in a zig-zag traverse, examining about a 1m width every traverse they take (see diagram, right).
- Don’t worry about collecting objects you are unsure of such as stone and flint that may or may not have been ‘worked’ – they can always be discarded later. When there are large amounts of material such as burnt flint or post-medieval brick and tile, it’s usually best to take a representative sample.
- If you plan to return to the field to continue surveying another day, or are going to GPS your points in another day, leave a couple of grid pegs in.
After the Exercise
- Set aside time to wash your finds and write down your findings according to type and period. With your results you can plot colour-coded plans of where sites of e.g. Roman activity may be found in the landscape.
- Report brief findings to the HER using the Jigsaw online form:
http://surveys.thehumanjourney.net/index.php?sid=12258&newtest=Y&lang=en - Write up a report structured by aims, methods, results, interpretation and additional information, and submit it to the HER within six months of the exercise.
This step by step guide to archaeological techniques is one of a series prepared by Jigsaw – a network of Cambridgeshire groups working alongside Oxford Archaeology East. The guides are available for download from the Jigsaw Website. Copyright in these guides belongs to Jigsaw and the authors.

